New Project From Scratch
The first time you access a Jupyter notebook within a new project, the screen will look like below. There will simply be the default Conda kernel that is deployed with the image.

The default Kernel Notebook/Console that appears termed "Python 3" should not be used for project work within DataLabs, this is for a few reasons - if others that are also using the same notebook make changes to the default environment (installing or removing packages) this could break projects from running, but also the changes that are made within this environment will not be persisted when the JupyterLab version is updated over time, or we make changes to the underlying platform.
Instead, the architecture requires you to store your Conda packages/dependencies in a Volume with your code by making use of Conda Environments (see here for some of the reasons why - https://medium.freecodecamp.org/why-you-need-python-environments-and-how-to-manage-them-with-conda-85f155f4353c ).
Create Conda Environment
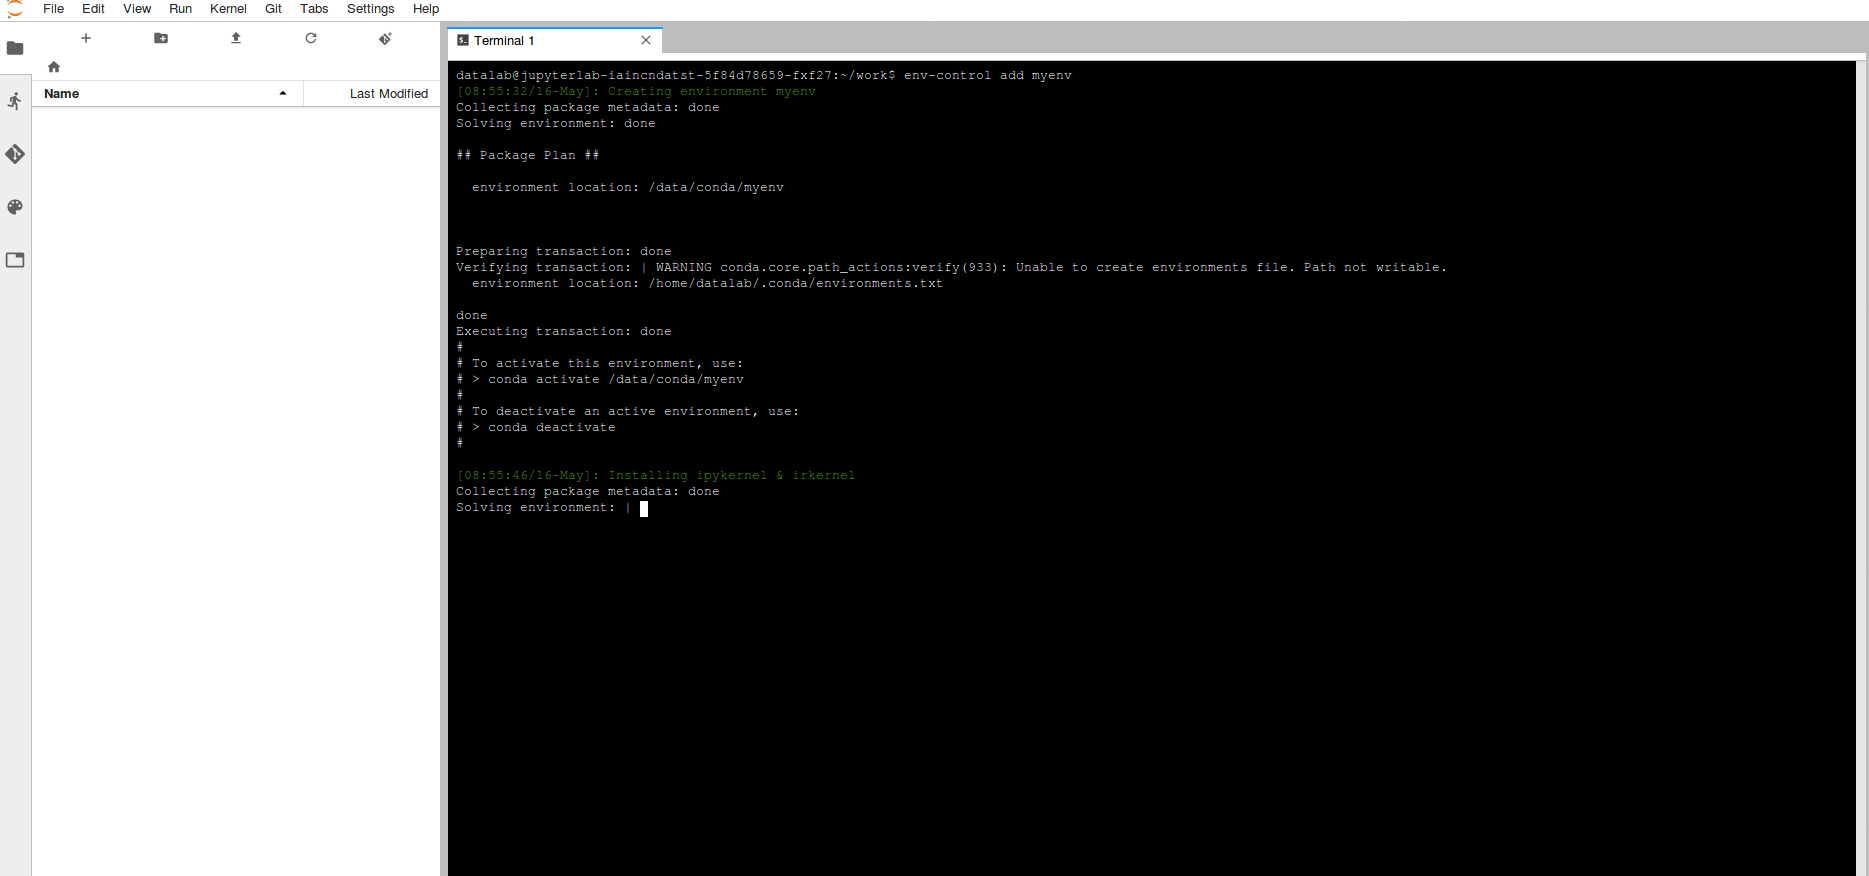
In order to create an environment (this is only required once), select terminal and run the command below, it's a good idea to name your environment something related to the purpose of what you're doing.
env-control add <environment_name>
This will trigger the creation of a Conda environment as well as Kernels for both R & Python which are stored on your data volume and may take a while (note - this may take ~10 minutes upon the first run).
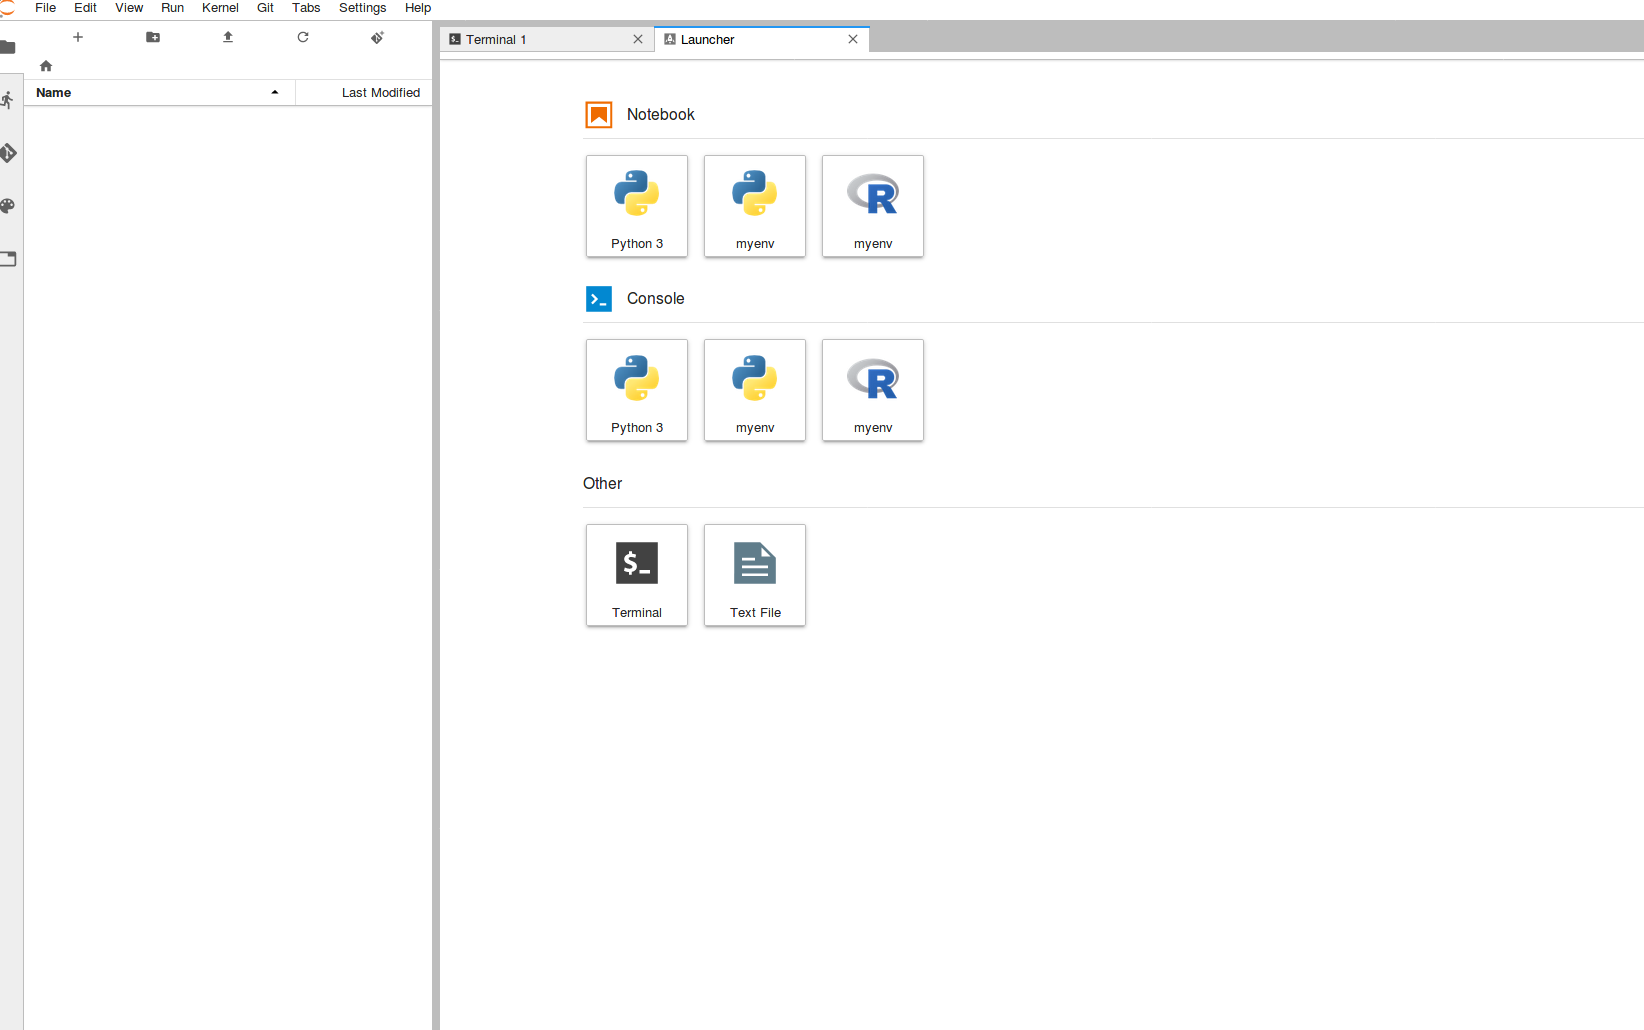
Once complete, if you refresh the page, there should now be two additional Kernels available from the main screen. These correspond to newly deployed python & R versions within the created environment.
In order to install packages/libraries see the Adding/Removing packages page.